Home Assistant From Scratch - Hue Lights
This is one post in a series of getting up and running with Home Assistant from scratch.
Today’s objective is pretty straight forward, we are going to be adding some Philips Hue lights to our Home Assistant setup in order to control them from the Home Assistant application, and later use them in automation rules.
For this we will need to complete the following steps:
- Connect the Hue bridge to Home Assistant
- Group the lights we want to see together
- Customize our lights
- Hide “rooms” imported from the Hue app
- Committing your changes to GitHub
Groups
We will be working with groups in this post, and as the name suggests groups are a collection of things in Home Assistant that you would like to appear together on the same card in the Web UI.
By default, groups are defined in the groups.yaml file, which can be found in your Home Assistant’s configuration folder. Groups are defined in YAML and follow the strict nesting structure of the markup.
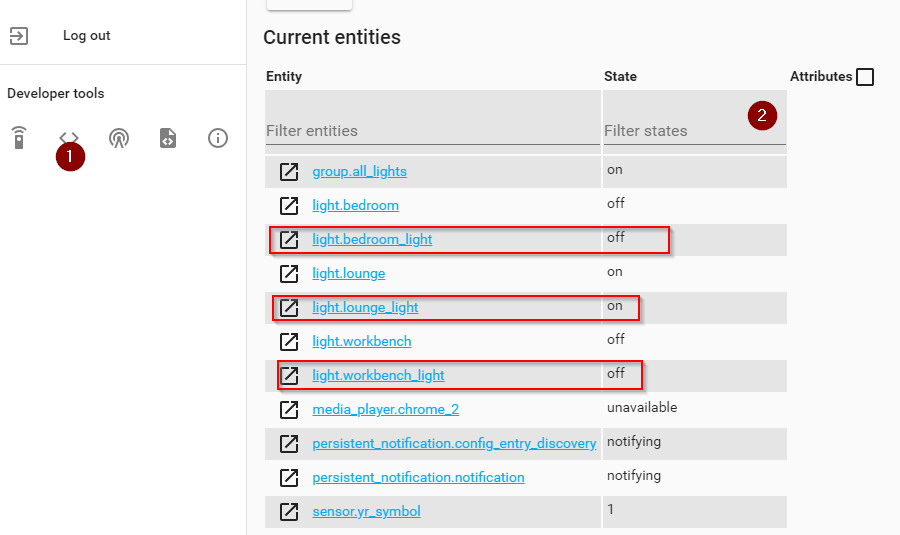
You add entities (devices) to groups by using their fully qualified name (e.g. light.bedroom_light) which Home Assistant will parse and display. You can get an entities fully qualified name through the states section of the developer tools (at the bottom of the main menu):
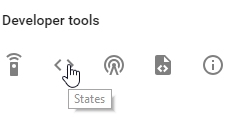
Once there, find the entity that you are interested in adding to your group and copy its Entity name.
Process
Connecting the Hue Bridge
As per the norm, Home Assistant has made it really easy to connect to your Hue Bridge providing that Zero-configuration networking is enabled and your Hue Bridge is on the same network as Home Assistant. When you open Home Assistant in your browser you should see your Hue Bridge listed under the discovered devices card:
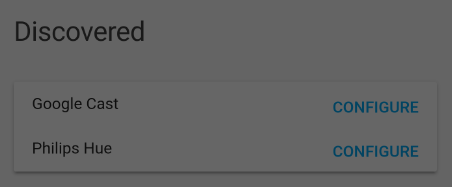
Click configure and follow the simple on-screen steps which require you to press the sync button on the Hub…

… followed by submit on the popup and waiting a few seconds.
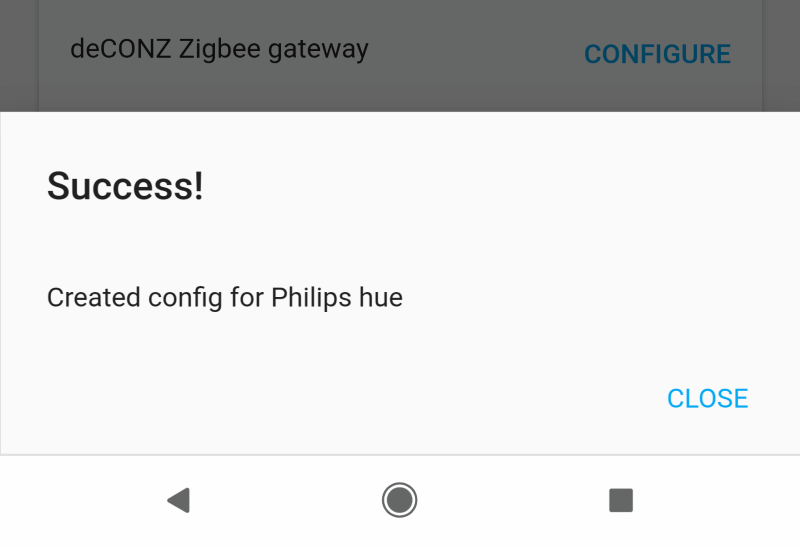
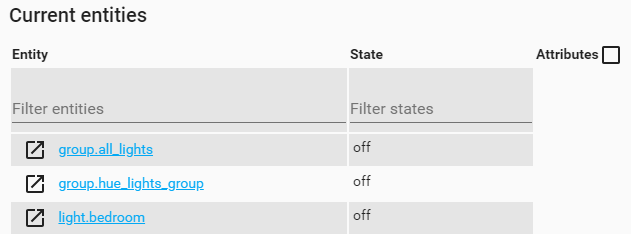
It’s that simple, and after a second or so you should see all your lights:
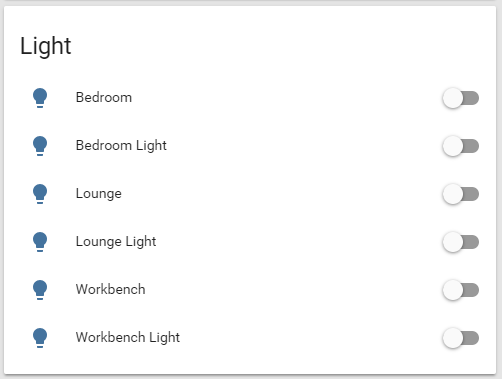
Grouping lights together
As you can see above, all my lights were successfully imported into Home Assistant along with what seem to be doubles of each bulb. These “doubles” are actually the rooms (groups) I have defined in the Philips Hue application, and are intended to quickly turn on / off all the lights in a defined room.
I really don’t need both the rooms and lights for my setup, and would prefer to simply have a group containing only the lights that I want to control. Thankfully this is a simple task to achieve through a group in Home Assistant, all we need for this to work is a name for the group and a list of the devices (lights) we want to group together.
As mentioned above you can get the names of your devices through the stateview (under the developer tools section of the menu), as shown here:
To group the selected lights together all we need to do is simply add the following lines to the groups.yaml file making sure that we watch our spacing and get the entities names correct:
1
2
3
4
5
6
hue_lights_group:
  name: Hue Lights
  entities:
    - light.bedroom_light
    - light.lounge_light
    - light.workbench_light
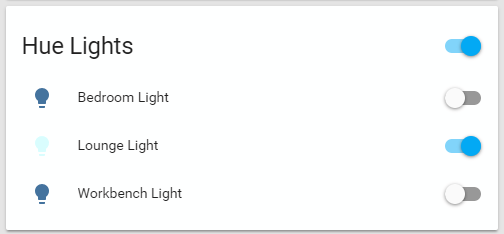
After validating our configuration and reloading Home Assistants Groups we are presented with the following:
Customizing our lights
I am a visual person, and as such prefer to have the icons representing each light to differ from each-other for quick identification when scrolling through my Home Assistant devices. I would like each light to look different, and preferably to have an icon that more closely represents the shape of the light fixture.
Luckily for us such customization is possible in Home Assistant through the cuztomize.yaml file. In this file you are able to customize some basic characteristics of devices in Home Assistant, and even hide ones that should you want to. The syntax is simple (and well documented) making it easy to get up and running quickly. In my case I used the following configuration for my lights:
1
2
3
4
5
6
7
8
9
10
11
light.bedroom_light:
  friendly_name: Bedroom
  icon: mdi:hotel

light.lounge_light:
  friendly_name: Lounge
  icon: mdi:floor-lamp

light.workbench_light:
  friendly_name: Workbench
  icon: mdi:desk-lamp
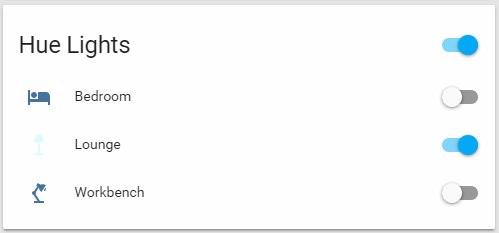
After a quick validation and reloading of the core components of Home Assistant things are looking a lot better:
Icons: You can use any icon from https://materialdesignicons.com provided that you prefix the name with mdi: as shown above
I would like to hide the rooms imported with the lights, so I added the following configuration to cuztomize.yaml:
1
2
3
4
5
6
7
8
light.lounge:
  hidden: true

light.workbench:
  hidden: true

light.bedroom:
   hidden: true
After a quick core reload all I am left with are my lights :)
Committing changes
The last thing left to do now is ignore any files that expose personal data, and commit our changes to GitHub.
If you haven’t done so already you will need to add .config_entries.json to your git.ignore file before pushing your changes to GutHub (or whatever source control you are using). As the name suggests this file contains configuration specific to the devices in your Home Automation setup, and could potentially contain sensitive information such as an API key, MAC Address and so on:
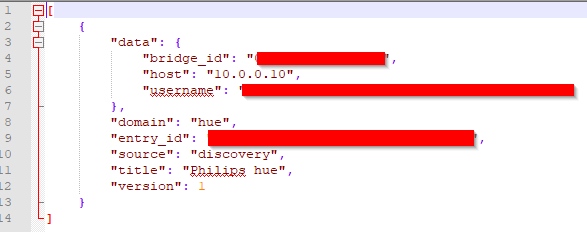
I strongly suggest ignoring these types of files and manually backing them up on a schedule.
Final thoughts
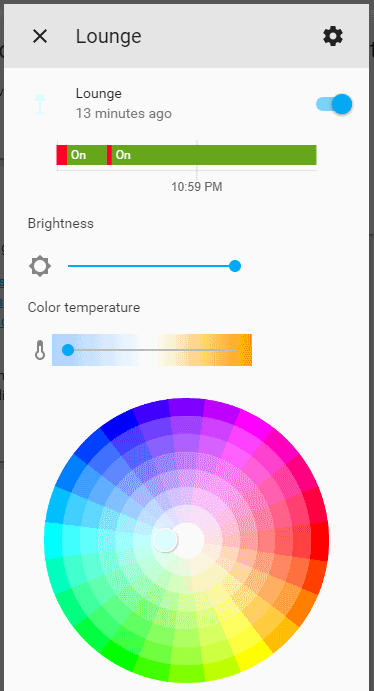
There is just something magical about the consistency that Home Assistant has when it comes to its user interface (compared to the quickly thrown together application made by the hardware manufacturers). Add to that, the fact that Home Assistant is able to determine the capabilities of the connected device and present you the appropriate options makes it all that much better:
This is the UI for a Hue bulb:
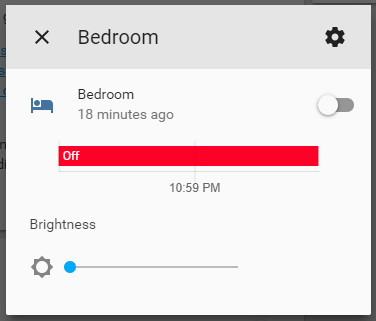
This is the UI for a standard white bulb:
This is a good start to expanding out our Home Automation and will allow for some pretty awesome automation rules in the not too far future. There is a lot of power packed into Home Assistant, and we have a lot more ground to cover.
As always, I hope that you found this post useful and I welcome any feedback / questions below.
Comments powered by Disqus.