Home Assistant From Scratch - Octoprint
This is one post in a series of getting up and running with Home Assistant from scratch.
Today I will be adding my 3D printer to Home Assistant via the octoprint integration, this post will build up on core concepts that have already been covered in some of my previous posts.
Requirements
If you wish to follow along, you will need the following.
- Octoprint setup and running for your 3D printer
- A static IP Address assigned to your Octoprint server (makes configuration a whole lot easier)
- The Octoprint MQTT Plugin installed
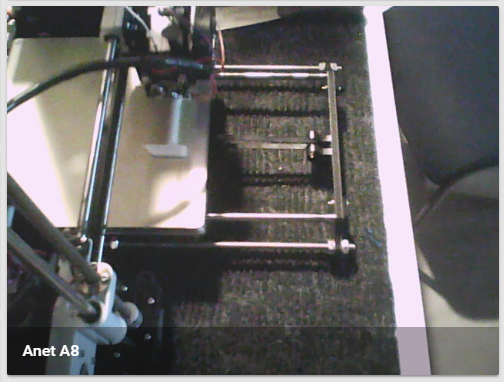
- (Optional) A webcam configured in Octoprint
Octoprint
As mentioned above, in order to monitor Octoprint from Home Assistant you will need the Octoprint MQTT plugin as this allows Octoprint to publish relative information about your printer and any running jobs.
You can install the plugin through Octoprints built-in plugin manager, and configure it to point to your home MQTT server (or cloud server if you are not hosting your own).
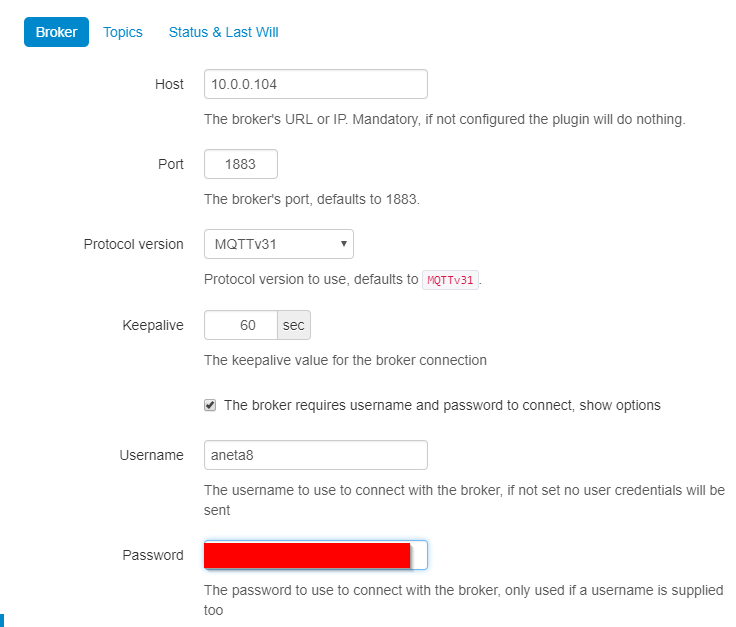
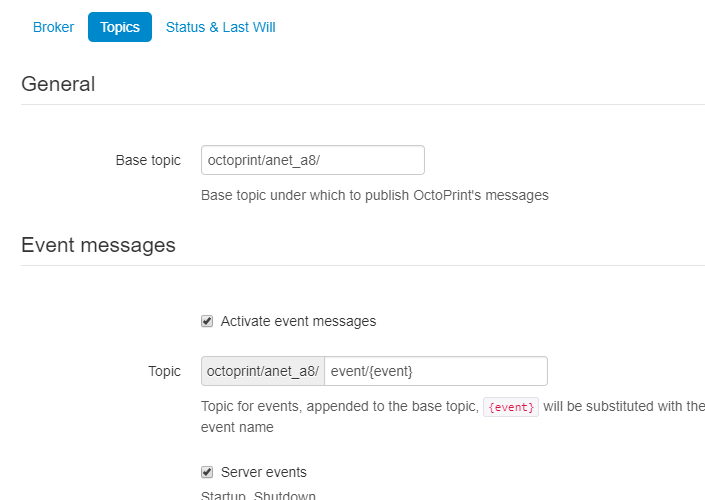
I would suggest picking a meaningful topic when setting up MQTT, especially if you are running more than 1 3D printer. In my case I will set this topic to octoprint/anet_a8/:
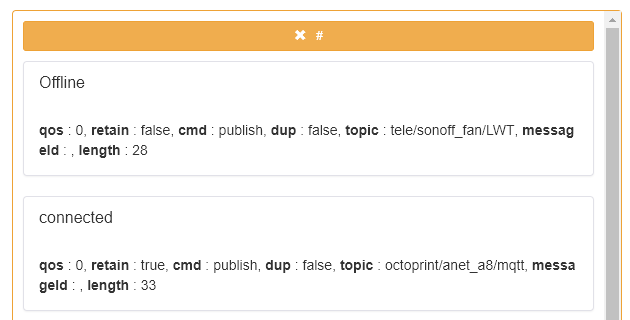
We can confirm that our configuration is correct by subscribing to either # or octoprint/anet_a8/# in your preferred MQTT client (in my case I am using MQTTBox).
Home Assistant
The first thing we need to do is add the Octoprint component’s configuration into your configuration.yaml file.
1
2
3
4
5
octoprint:
  host: !secret octoprint_host
  api_key: !secret octoprint_api
  bed: true
  number_of_tools: 1
This is the main component to integrate OctoPrint sensors, you will have to set up sensors and binary sensors separately.
Next you will need to create a new octoprint sensor (shown below) in your configuration.yaml file and select the monitored conditions that you are interested in.
1
2
3
4
5
6
- platform: octoprint
  name: Anet A8
  monitored_conditions:
    - Current State
    - Temperatures
    - Job Percentage
After a quick restart of Home Assistant you should see your new sensors.
Grouping and Customization
I prefer to group similar sensors together in Home Assistant to make it easier to get to the information that I want to see. Below I am creating a new card called Anet A8 which contains all the sensors that I want to see…
1
2
3
4
5
6
7
8
9
aneta8_group:
  name: Anet A8
  entities:
    - sensor.anet_a8_current_state
    - sensor.anet_a8_job_percentage
    - sensor.anet_a8_target_bed_temp
    - sensor.anet_a8_actual_bed_temp
    - sensor.anet_a8_actual_tool0_temp
    - sensor.anet_a8_target_tool0_temp
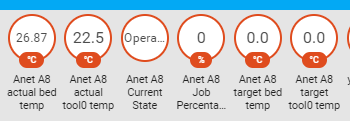
This results in the following card appearing in Home Assistant after a restart.
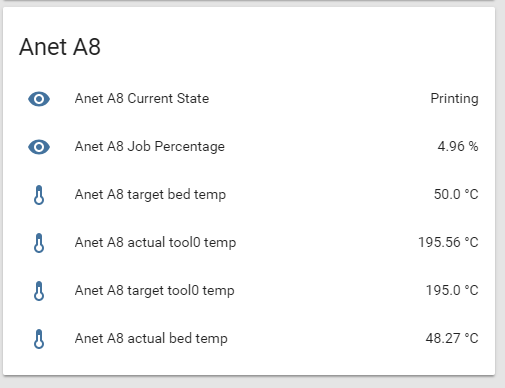
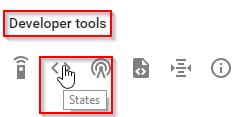
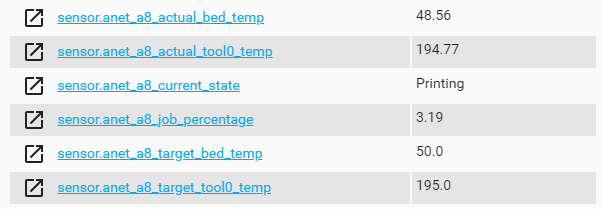
If you are wondering where to get the entity names specific to your 3D printer (e.g. sensor.anet_a8_job_percentag) you can get them through the states panel under the Developer Tools section of your Home Assistant instance.
Customizing Entities
The next thing I want to do is rename some of the automatically generated names to ones that make more sense to me. To do this I added the following configuration to my customize.yaml file:
1
2
3
4
5
6
7
8
9
10
11
12
13
14
15
16
17
18
19
20
21
22
23
sensor.anet_a8_current_state:
  friendly_name: Status
  icon: mdi:printer-3d

sensor.anet_a8_job_percentage:
  friendly_name: "Job %"
  icon: mdi:percent

sensor.anet_a8_target_bed_temp:
  friendly_name: "Bed Temp (target)"
  icon: mdi:vector-square

sensor.anet_a8_actual_bed_temp:
  friendly_name: "Bed Temp (actual)"
  icon: mdi:vector-square

sensor.anet_a8_actual_tool0_temp:
  friendly_name: "Tool Temp (actual)"
  icon: mdi:temperature-celsius

sensor.anet_a8_target_tool0_temp:
  friendly_name: "Tool Temp (target)"
  icon: mdi:temperature-celsius
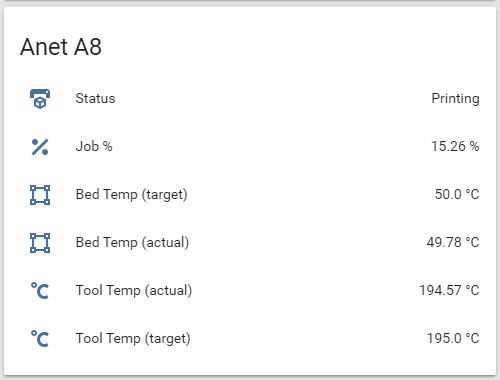
The results after a restart can be seen below:
Webcam Support
Octoprint by default provides a webcam stream which is available at: http://<IP Address>/webcam/?action=stream
In my case that would make it: http://10.0.0.101/webcam/?action=stream&1532530153491
To get the webcam appearing in Home Assistant all we need to do is add a new mjpeg camera with the stream URL and a meaningful name:
1
2
3
4
camera:
  - platform: mjpeg
    mjpeg_url: http://10.0.0.101/webcam/?action=stream&1532530153491
    name: "Anet A8"
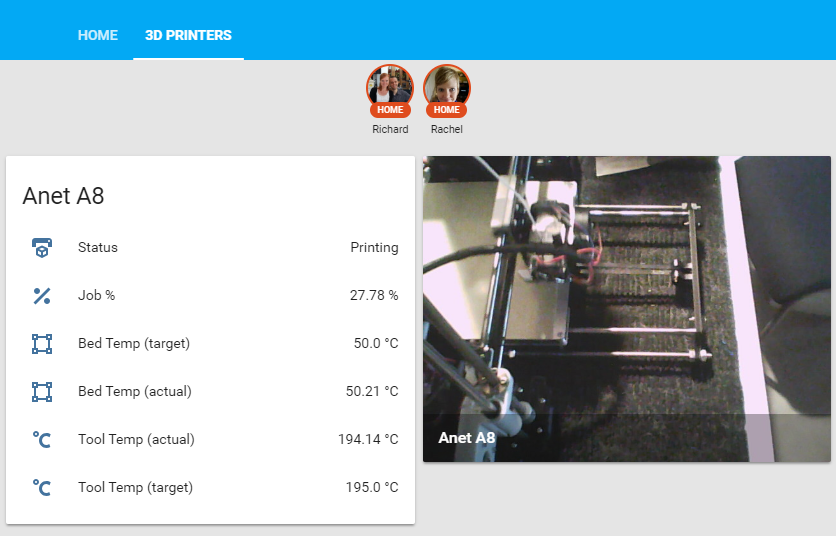
3D Printer View
The last thing left to do is create a 3D Printer view in Home Assistant (i.e. a TAB on the top row) which will be used to only display information from my 3D printer, to do this I added the following configuration to the groups.yaml file.
1
2
3
4
5
6
7
8
3d_printers_view:
  name: "3D Printers"
  view: yes
  entities:
    - device_tracker.google_maps_111184378817367767624
    - device_tracker.google_maps_117179315722226620815
    - group.aneta8_group
    - camera.anet_a8
After restarting Home Assistant:
Conclusion
I feel a lot more comfortable being able to check on my 3D printer from another room, and having it integrate so easily into Home Assistant is a huge bonus.
This also opens up the doors for a lot of automation around your printer (e.g. power down after print completion (using a Sonoff), cut power in thermal runaway, etc.).
Having your printer talking on MQTT also allows for integration into other tools such as Node-RED greatly expanding what you can do with your automation.
I hope that you found this post helpful, and as always I welcome all feedback, comments and questions.
Comments powered by Disqus.