Installing Chronograf on Ubuntu
Hi there! This post is part of a series I am doing where I attempt to move most of the applications I use at home over to Linux. If you find this interesting you may enjoy the other posts too!
Today I will be covering getting Chronograf up and running on Ubuntu.
Installation
Note: You will need to have a working InfluxDB 1.x instance deployed to follow along!
First you will need to pick the latest version of Chronograf for your system from this list and download it on the target machine (at the time of writing that was chronograf_1.7.11_amd64.deb).
1
wget https://dl.influxdata.com/chronograf/releases/chronograf_1.7.11_amd64.deb
Once downloaded, run the below command to install:
1
sudo dpkg -i chronograf_1.7.11_amd64.deb
Once installed, you can remove the downloaded package with the following command:
1
sudo rm -f hronograf_1.7.11_amd64.deb
Creating a “Service”
You can configure Chronograf to run as a service by running the below commands:
1
2
3
sudo systemctl enable chronograf.service
sudo systemctl --system daemon-reload
sudo systemctl start chronograf.service
Testing and Configuration
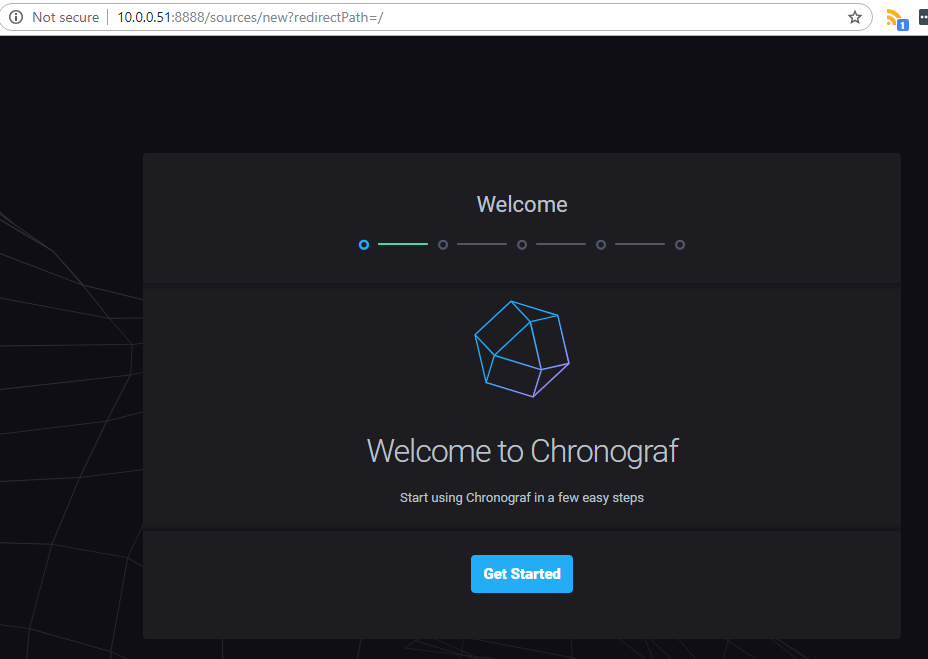
Once running you should be able to navigate to your servers IP Address on port 8888 to see the Chronograf UI - in my case the URL would be: http://10.0.0.51:8888/
If all went well you should be greeted with the configuration screen as shown below, simply follow the steps in the wizard to complete the installation.
You should now have a working instance of Chronograf on your server, good job!
Comments powered by Disqus.