Installing Node-RED on Ubuntu
Hi there! This post is part of a series I am doing where I attempt to move most of the applications I use at home over to Linux. If you find this interesting you may enjoy the other posts too!
Today I will be covering getting up and running with Node-RED on your server. This process is slightly more involved compared to all the previous instals we have done so far, however this post aims to make it as simple as possible!
Installing Node.js
In order to run Node-RED you will need to have Node.js installed, these steps are a condensed version of the official installation guide for Ubuntu.
To install Node.js 12.x simply run the below command on your server:
1
curl -sL https://deb.nodesource.com/setup_12.x | sudo -E bash -
Once complete you can install Node.js using the following command:
1
sudo apt-get install -y nodejs
You can run the below command to verify that the installation succeeded:
1
npm --version && node --version
You should see output similar to the below:

Installing Node-RED
Once we have Node.js installed we can move on to installing Node-RED, the below commands are taken from the official documentation.
Note: you will need to run most of these commands as
sudo
You can install Node-RED with the below command:
1
sudo npm install -g --unsafe-perm node-red
Once installed, you can test that everything is working by launching Node-RED with it’s default settings:
1
node-red
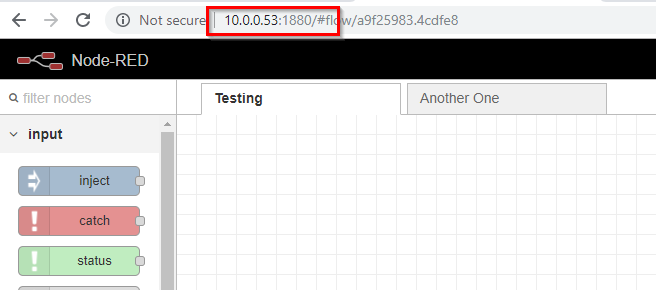
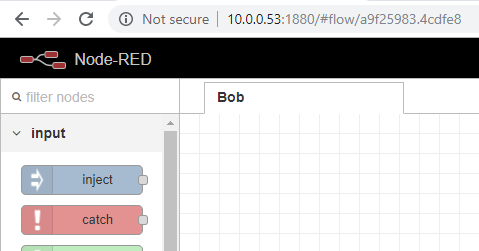
Once Node-RED has started you should be able to access it on your server’s IP Address on port 1880 in my case that would be http://10.0.0.53:1880.
Securing Node-RED
If you are planning on making your Node-RED installation accessible on your home network (or the web) it is a good idea to secure it with a password, follow the steps below to add the default admin user and custom password to your instance.
First you will need to install the node-red-admin package.
1
sudo npm install -g node-red-admin
Once installed run the below command making sure to follow the prompts to generate your password hash:
1
node-red-admin hash-pw
Once you have the hashed password we will need to edit Node-RED’s settings.js file and enable the admin user account, you can edit the file with the following command:
1
sudo nano /home/niemandr/.node-red/settings.js
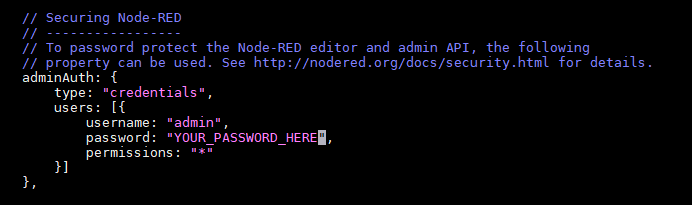
Find the Securing Node-RED section (shown below) and un-comment the adminAuth section making sure that you replace the default password with the hash generated above.
Next, save and close the configuration file and restart Node-RED (for now you can just run it from the terminal via the node-red command). Once started head over to the Web UI and you should be presented with a login dialog similar to this:
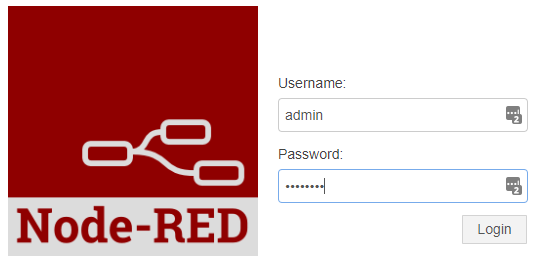
You should be able to now log in using the admin user and your selected password!
Create a Node-RED Service
Ideally we want Node-RED to start when the server boots, after some digging online the below process worked best for me (more information here). Basically we are going to install pm2 which is a process manager plugin for Node.js and can be configured to start services on boot.
Installing pm2
You can install pm2 using the following command:
1
sudo npm install -g pm2
Once installed you will need to get the path to the node-red executable using the which command:
1
which node-red
In my case I am using the default Node-RED binary (/usr/bin/node-red).
You can test that everything is working as expected by running the below command (making sure to use the path to your node-red binary):
1
pm2 start /usr/bin/node-red -- -v
This should start Node-RED in the background, you can view information about the process and access the log output using the commands:
1
2
pm2 info node-red
pm2 logs node-red
Starting Node-RED on boot
You can configure Node-RED to start on boot by running the below commands, you will need to have pm2 installed (covered above):
1
2
pm2 save
pm2 startup systemd
The last command will output another command that you will need to run in order to configure Node-RED to start up on server reboot, in my case the following output was generated (Note the output may vary for your setup).
1
sudo env PATH=$PATH:/usr/bin /usr/lib/node_modules/pm2/bin/pm2 startup systemd -u niemandr --hp /home/niemandr
After running the generated command on my server I got confirmation that Node-RED was configured to start on boot:
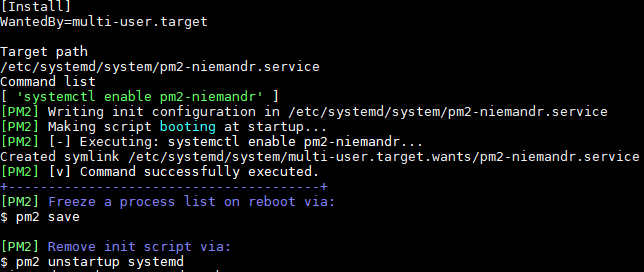
The only thing left to do now, is to restart the server and see if Node-RED starts by itself, and in my case it did!
Fixing Node-RED permissions
Presumably you installed Node-RED using your user account (as root is disabled by default on Ubuntu), so you will need to amend some permissions before you can install any additional pallets to Node-RED.
After some digging on Google I came across this post which had an all-in-one command that fixed my permissions perfectly, maybe this will save you some time!
Navigate to your Node-RED folder (in my case it was /home/niemandr/.node-red) and run this command to fix permissions:
1
sudo find ~ -type d -user root -exec sudo chown -R $USER: {} +
NOTE: you need to be in your Node-RED directory before running this command!
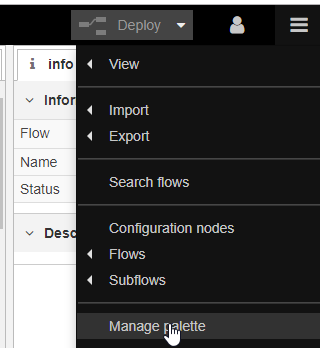
Installing Palettes
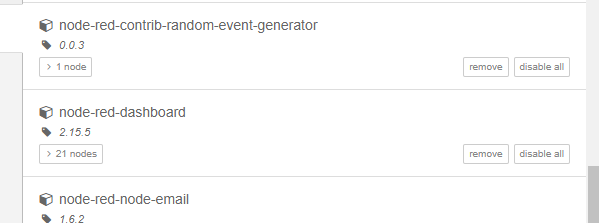
Once you have fixed the permissions (covered above) you should be able to install any palettes normally through Node-RED.
Thanks to the fix above I was able to install all the palettes I needed with no permission errors.
Automated Backups
As a bonus I thought I would cover creating automated backups of your Node-RED server using a CRON job.
The zip command
Node-RED stores all your flows in a file with the flows_
1
/home/niemandr/.node-red/flows_<HOST>.json
I would like to backup this file along with the settings.js file daily. The easiest way I could think of doing this was to make use of the zip command which we will need to first install using:
1
sudo apt install zip
We can simply zip any files matching the *.json pattern in your Node-RED configuration folder (in my case that was /home/niemandr/.node-red) using the below command:
1
zip "/home/niemandr/Node-RED-$(date '+%F').zip" /home/niemandr/.node-red/*.json
This will create a zip file with the following naming convention: Node-RED-<DATE>.zip:

Creating the CRON
You can manage your CRON jobs using the below command:
1
crontab -e
If this is the first time working with users’ CRON jobs you will be prompted to create a new file, if this is the case just use the suggested defaults.
Add the below line to your CRON file (making changes where required):
1
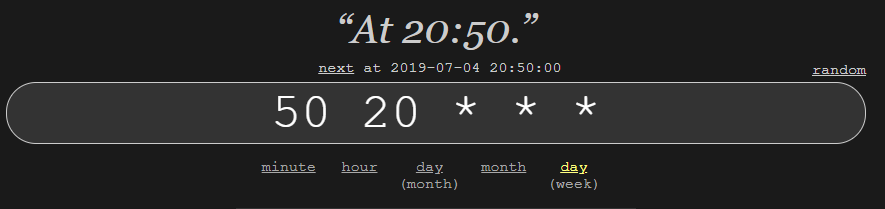
50 20 * * * zip "/home/niemandr/Node-RED-$(date '+\%F').zip" /home/niemandr/.node-red/*.json
You can use this site to help generate a suitable CRON schedule expression, as you can see I have configured mine to run every day at 8:50 pm:
Once done, save and close the CRON file.
You are now configured with daily backups of your Node-RED service!
In Closing
This was a longer post than normal, and I would like to thank you for sticking it out to the end! I always welcome any comments, suggestions and feedback on these posts as it helps me learn.
If you are stuck feel free to ask me a question and I will do my best to answer you ASAP.
Comments powered by Disqus.