Mosquitto on Windows
After discovering the joys and simplicity of using MQTT on IoT enabled devices such as an NodeMCU ESP8266 I decided I wanted to host my own local (and with the right configuration public) instance of mosquitto for my devices to make use of. This post covers the basics of getting everything up and running on a Windows environment.
Prerequisites
There are 3 prerequisites when it comes to installing mosquitto locally:
First, download and install Open SSL (I used Win64OpenSSL_Light-1_0_2L.exe), please take note of the installation directory.
1
C:\OpenSSL-Win32
Next you will need to grab pthreadVC2.dll from ftp://sourceware.org/pub/pthreads-win32/dll-latest/dll/x64/, all you need is the pthreadVC2.dll file.
Lastly you will need to grab the latest version of mosquitto (in my case this was mosquitto-1.4.12-install-win32.exe).
Installing
Installation of mosquitto is a bit tricky, and I find that the following process works well for myself.
First you need to install Open SSL - feel free to change the installation directory, but be sure to take note of where you are installing it to (in my case: C:\OpenSSL-Win32).
Next install mosquitto as you would normally, again taking note of the installation directory (in my case: C:\Program Files (x86)\mosquitto), complete and close the installer.
Finally you will need to copy the following files into your mosquitto installation directory:
From: C:\OpenSSL-Win64:
- libeay32.dll
- ssleay32.dll
From: Download:
- pthreadVC2.dll
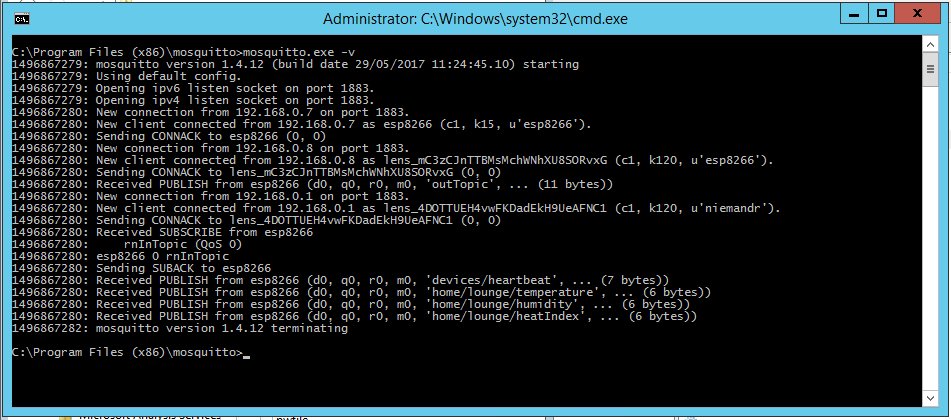
You should now be able to run mosquito with the following command line:
1
mosquitto.exe -v
Securing
I highly recommend securing mosquitto if you are planning to use it on the web. It is simple to do and should only take a few moments.
Open a command window in the context of your mosquitto installation directory and enter the following command.
1
mosquitto_passwd.exe -c pwfile user
Be sure to replace pwfile with the name of the password file you want to create, and user with your desired username. Once the command is completed you should have a password file with the specified user in it.

To add another user to the file you use the command:
1
mosquitto_passwd.exe pwfile newuser
Lastly we need to update the mosquitto.conf file and make it aware of the password file you created. Find the following lines in the config file and update them as required, in my case:
1
2
password_file pwfile
allow_anonymous false
You are done locking down mosquitto!
Running
Lastly we will need to run mosquitto using the updated configuration file, to do this you can simply open a command window in the context of your mosquitto installation directory and run the following command:
1
mosquitto -c mosquitto.conf
This is far from ideal, but it’s a step in the right direction. I am planning on creating another post on how to run mosquitto as a service (should you not want to use the provided broker service that is installed by default). For now I find that creating a bat file with the following commands does the job quite nicely.
1
2
cd "C:\Program Files (x86)\mosquitto\"
mosquitto.exe -v -c mosquitto.conf
That’s all there is to it.
Comments powered by Disqus.