NodeRED on DietPi
Today I set out to get Node-RED up and running on a NanoPi NEO2 to help automate some simple tasks in my home automation setup.
The NanoPi NEO2 is a really small SBC similar to a Raspberry Pi, but has a better performance / cost ratio (imho).
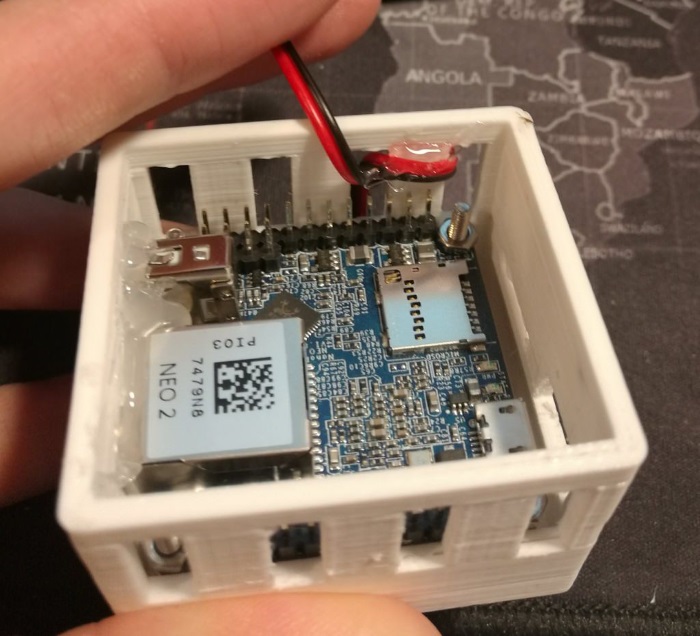
I designed a simple case using my Anet A8 3D printer, which I think came out pretty nicely.

Similar to my old post this will be in a quick start form to help you get up and running as soon as possible, so let’s get started.
Install the required packages
I am going to make the assumption that you already have DitePi up and running on your SBC of choice and have an active SSH session to the device.
We will be installing node.js, python (with pip) and node-red.
To install Node.js run the following command:
1
dietpi-software install 9
To install python run the following command:
1
dietpi-software install 130
To install Node-RED run the following command:
1
dietpi-software install 122
The node-red service should automatically start after the installation has been completed, you can confirm this by running the below command:
1
systemctl status node-red.service

If for some reason node-red is not installed as a service on your device you can manually register it via the following command:
1
systemctl enable node-red.service
Securing Node-RED
Like my original post, I highly recommend securing your Node-RED instance, especially if you would like to access it via the web. To do this we will need to install the node-red-admin tool to generate a password string that you can then add into your /root/.node-red/settings.js settings file, this process is pretty simple:
1
2
npm install -g node-red-admin
node-red-admin hash-pw
Copy the generated password, and proceed to edit your settings file:
1
nano /root/.node-red/settings.js
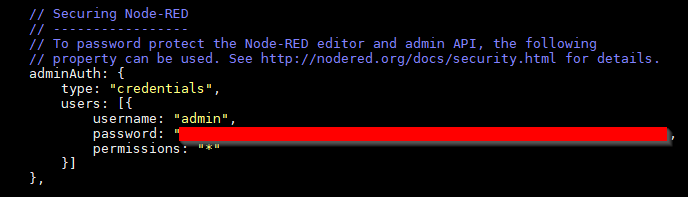
Find the below lines and un-comment them making sure to update the password with the one copied earlier.
Next you will need to stop and start Node-RED for the settings to be applied:
1
2
systemctl stop nodered.service
systemctl start nodered.service
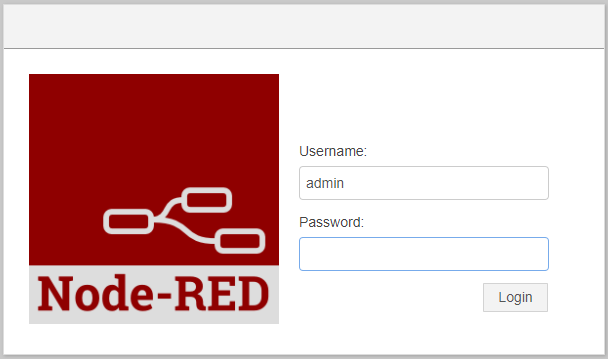
If all went well you should now be presented with a login screen similar to the one below.
TIP: Backing up your flows
I highly recommend doing daily \ weekly backups of your Node-RED flows just in case something happens to your computer, or you accidentally delete one.
At the moment I am doing this manually by first searching for all my Node-RED flows using this command …
1
find / -name *flows*.json
… which results in a list of my flows …
1
2
3
/root/.node-red/flows_RNPI02.json
.. or ..
/mnt/dietpi_userdata/node-red/
… and once I know the location of my flows I am using WinSCP to copy them off my Pi. In the future I will automate this process, but for now I am happy doing this manually.
All Done
That’s pretty much all there is to it, hopefully you found this post helpful and saved some time with your setup. As always comments / suggestions are always welcome and I look forward to any feedback that you may have.
 My “super high-tech” Home Assistant and Node-RED servers :)
Comments powered by Disqus.