Updating Chirpy
This is a simple post covering the steps required to update the Chirpy Jekyll Theme used by this blog, along with listing some useful pages and tools used for writing my blog posts.
Let’s dive in.
Initial Setup
Personally I use Windows as my daily driver so this section will cover Windows only.
In order to build and run locally you will need to meet the following requirements:
Follow the setup guide provided by the template author.
Once setup, check out your repository locally and run the bundle command:
1
2
cd <CHECKOUT DIR>
bundle
Writing Flow
You can run either of the commands below to build and preview your site:
1
2
3
bundle exec jekyll s
 - OR -
bundle exec jekyll s --incremental
Once running you can view your site locally at http://localhost:4000.
Updating Chirpy
Full process is covered here, this is more of a cheat sheet for the process:
Determine the version that you are currently on (e.g. v5.3.1) and the latest version you are updating too - this can be found here (let’s say v5.3.2).
Knowing this we can generate a GitHub compare URL that will list all changes between the provided tags (versions) using the following template:
1
https://github.com/cotes2020/chirpy-starter/compare/<from>...<to>
In my sample case this would generate the following URL:
1
https://github.com/cotes2020/chirpy-starter/compare/v5.3.1...v5.3.2
Visitng the URL will list out all the changes between the provided versions:
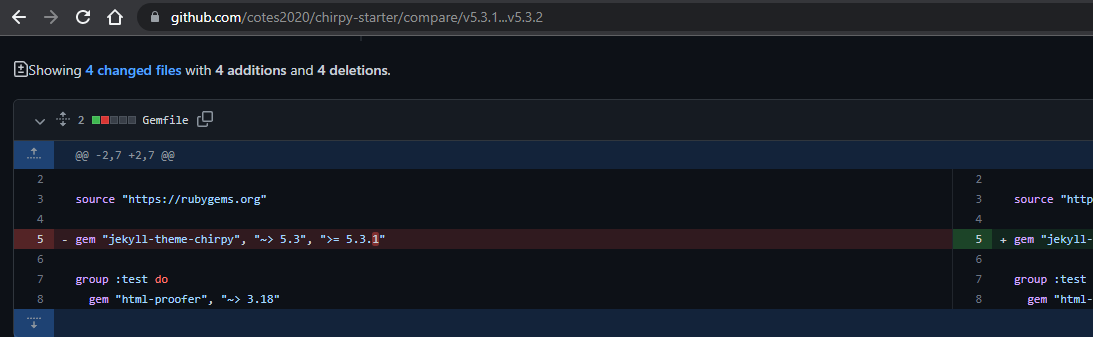
The update process is just replaying the changes made to the relevant files over your repository.
Useful Links
Below is a curated list of useful links I have found and use when writing blog posts.
- Typography supported by Chirpy
- Code snippets for writing posts
- Enabling Google Pages View - was a breaking change a while back.
Closing
That’s all there is to it.
Happy posting!
Comments powered by Disqus.