HASS On Unraid: MariaDB
This post is part of a series covering running various containers on Unraid.
In this post I will cover configuring Home Assistant to use MariaDB rather than the default SQLite DB, you can refer to this post for instructions on how to set up MariaDB on Ubuntu.
Create DB and User
First you will need to create a DB and user account, this can be done by running the following commands while connected to mysql - make sure that you replace the relevant values with your own.
1
2
3
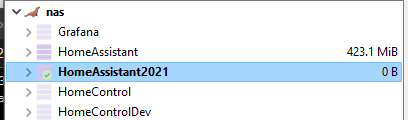
CREATE DATABASE `HomeAssistant2021`;
CREATE USER 'hass' IDENTIFIED BY 'xxx';
GRANT ALL privileges ON `HomeAssistant2021`.* TO 'hass'@'%';
You can connect to mysql using the following command mysql -u root -p You should now have a DB called HomeAssistant2021 that can be accessed using the account you created.
Backup your DB
It is generally a good idea to create periodic backups of your databases and should be done for your Home Assistant DB too. This post covers how to backup your DB via a CRON job.
Install Studio Code Server
Although this step is not required, it will make things a lot easier going forward. Under the Addon section in Home Assistant find and install the Studio Code Server addon.
Configure DB Connection
First we will need to generate a connection string for your DB, referring to the official documentation I ended up with the following connection string.
recorder_db_url: mysql://user:pass@192.168.0.60/HomeAssistant2021?charset=utf8mb4
I would suggest storing the connection string in your secrets.yaml file.
Create a configuration file
I suggest creating a new file called recorder.yaml in the root of your configuration folder and add the following content to it.
1
2
3
4
5
6
7
8
9
10
11
12
13
14
15
db_url: !secret recorder_db_url
purge_keep_days: 7
commit_interval: 0
exclude:
  domains:
    - automation
    - updater
  entities:
    - sun.sun
  entity_globs:
    - sensor.*_last_update_trigger
    - sensor.*_last_notification
    - sensor.*_last_removed_notification
    - sensor.*_volume_level_music
    - sensor.*_volume_level_call
I am excluding certain domains and entities from being recorded
You can then add a reference to your configuration in configuration.yaml like so: recorder: !include custom/recorder.yaml
Validate Config and Restart
After making your changes you will need to validate your configuration and restart Home Assistant.
To restart Home Assistant press c on your keyboard and search for Restart Server in the context menu that appears.
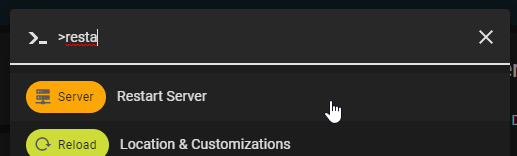
Before restarting Home Assistant should validate your configuration and warn if there are any issues.
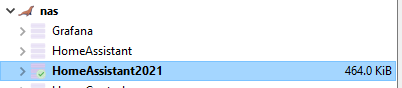
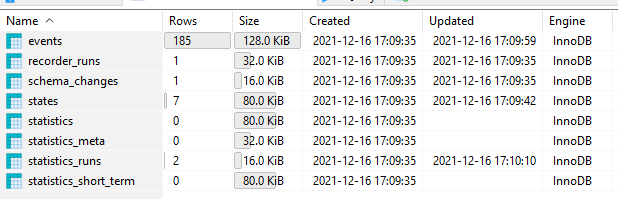
Confirm DB is being used
Before continuing I would suggest connecting to MariaDB and confirming that Home Assistant is writing changes to the DB, this is as simple as checking to see if the DB has grown in size and for the presence of new tables.
Cleanup
Once you have confirmed that Home Assistant is writing content to your DB you can go ahead and remove the old home_assistant_v2.db file to free up some space on your server.