Installing Telegraf on DietPi / ARM (Revised)
Today I would like to cover getting up and running with Telegraf on my SBC computers, namely most arm/arm64 based Debian distros.
This will be a brief post just covering the commands \ “hacks” used to get it all sorted.
Uninstalling (Optional)
I had initially done a manual installation of Telegraf which needed to be removed:
1
2
3
systemctl stop telegraf.service
systemctl disable telegraf.service
systemctl daemon-reload
Installing from influxdata.com
These steps are summarised from the official documentation.
Add the influxdb.key key:
1
wget -qO- https://repos.influxdata.com/influxdb.key | sudo apt-key add -
Create a source entry for influxdb.list:
1
echo "deb [arch=arm64] https://repos.influxdata.com/debian stretch stable" | sudo tee /etc/apt/sources.list.d/influxdb.list
Note: depending on your SBC architecture you may need to replace [arch=arm64] with [arch=armel] or [arch=armhf]! You can get your CPU architecture by running cat /proc/cpuinfo
Run apt-get update and install required dependencies:
1
sudo apt-get update && sudo apt-get install apt-transport-https
Install telegraf:
1
sudo apt-get update && sudo apt-get install telegraf
Configuration
By default the configuration file can be found at /etc/telegraf/telegraf.conf.
You will need to edit this file to point Telegraf to your local InfluxDb server and add any modules you require:
1
nano /etc/telegraf/telegraf.conf
Running as a service
Enabling the telegraf service should be as easy as issuing the following commands:
1
2
systemctl start telegraf
systemctl status telegraf
Optionally you can run the below command to enable the service if it was not done as part of the installation:
1
systemctl enable telegraf
Notes
The official repository I used for discovering the supported CPU architectures is here: https://repos.influxdata.com/debian/dists/stretch/stable/.
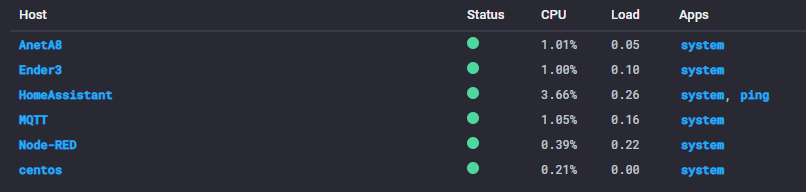
Once running you should start seeing your hosts appearing in Chronograf.
Hopefully you found this post helpful and as always, I welcome any comments, questions and feedback.
Comments powered by Disqus.